
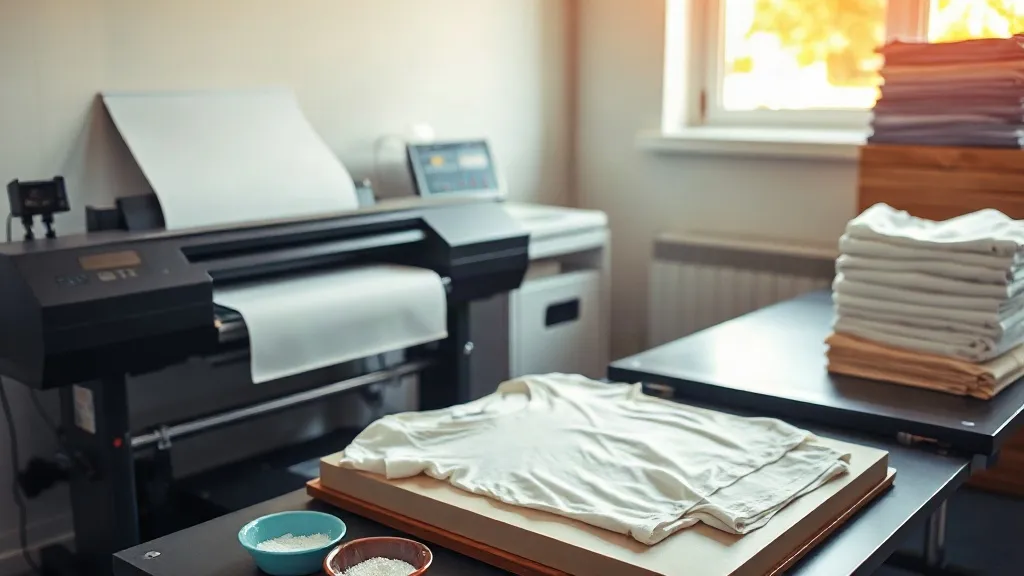
If you have spent any time in a print shop or a craft room lately, you have probably heard people talking about dtf transfers. The appeal is easy to understand: you can print a full-color design with photographic detail, then apply it to a cotton t-shirt, a canvas tote, or a polyester hoodie without the prep work that other methods demand. For small businesses and hobbyists alike, that flexibility changes what is possible on a tight budget and a tight deadline.
This guide walks through how the process actually works, what separates a good transfer from a frustrating one, and how to get consistent results whether you are pressing one shirt or a hundred.
What DTF Actually Is and Why It Matters
Direct-to-film printing starts with a digital printer that lays down a full-color image onto a special film, followed by a layer of adhesive powder. The film is then cured so the powder melts into the ink. What you end up with is a thin, flexible transfer that can be heat pressed onto a garment.
The key advantage is fabric compatibility. Screen printing works best on cotton, and sublimation essentially requires polyester. DTF sits in the middle and handles both, along with blends, canvas, nylon, and plenty of other materials. That means a shop can keep one production method for a wide range of orders instead of juggling several.
There is also the matter of color. Because the process is digital, there are no setup fees per color and no minimum order quantity tied to screens. A single shirt with a twelve-color design costs the same to print as a single shirt with one color. For anyone selling custom apparel, that removes a major barrier to entry.
How the Process Works Step by Step
Understanding the workflow helps you spot problems before they end up on a finished garment. Here is what happens from file to fabric.
1. Preparing the artwork
Files should be exported at 300 DPI at the final print size, with a transparent background. Because DTF prints white ink underneath the color layer, any semi-transparent areas in your design will behave differently than they would on a screen. Check gradients and drop shadows carefully. A quick test print on scrap fabric saves a lot of guessing.
2. Printing and powdering
The printer lays down white ink, then color, then a final white layer. Adhesive powder is applied while the ink is still wet, shaken off, and the film goes through a curing stage. Temperature and time matter here. Under-cured powder washes out; over-cured film becomes brittle and cracks.
3. Pressing onto the garment
Most transfers press at roughly 300 to 320 degrees Fahrenheit for 10 to 15 seconds with medium pressure. Peel behavior depends on the film: some are cold peel, some warm peel, and getting this wrong can pull detail out of fine lines. Always follow the supplier's spec sheet rather than a generic setting you found online.
4. Post-press and wash durability
A second press of a few seconds with a protective sheet or parchment helps the adhesive settle into the fibers. Done correctly, a DTF print holds up through dozens of wash cycles without significant fading or cracking.
Common Mistakes That Ruin a Good Transfer
Most complaints about dtf printing trace back to a handful of fixable issues. These come up again and again in shop forums and support tickets.
- Pressing on a cold platen. The first press of the day is often the worst one. Let the press come to temperature and do a warm-up press on scrap fabric.
- Skipping the pre-press. Moisture in the garment turns to steam and traps under the film, which causes bubbling and poor adhesion. Five seconds of pre-pressing solves it.
- Too much pressure. Excessive pressure flattens the ink and pushes adhesive past the edges, creating a visible halo. Medium pressure is almost always enough.
- Peeling at the wrong temperature. Cold peel films need to cool completely. Rushing this step is the single most common cause of lost detail.
- Stretching during application. Pulling the film taut while pressing distorts the design. Lay it flat and let the press do the work.
Choosing a Supplier Worth Sticking With
Transfer quality varies more than most people expect. Two suppliers can offer the same price per sheet and produce dramatically different results after ten washes. When evaluating a new source, look at a few concrete signals.
First, ask about ink and powder brands. Reputable suppliers are usually upfront about what they use. Second, request a sample pack and actually wash the samples. A transfer that looks perfect on day one but cracks by week three is not a bargain at any price. Third, check turnaround times and whether they print in-house or outsource. In-house production usually means faster reprints when something goes wrong.
If you are searching for dtf transfers near me, local pickup can be a genuine advantage for deadline-driven work, but do not sacrifice print quality for convenience. Many shops now ship overnight, which closes most of the gap.
Where DTF Fits in a Real Shop
The strongest use case is short-run custom work: team jerseys, event merch, small-batch brand launches, and one-off gifts. Screen printing still wins on large runs of simple designs, and embroidery still wins on polos and corporate wear. DTF fills the space in between, where designs are complex, quantities are low, and fabrics are mixed.
Many shops run DTF alongside their existing equipment rather than replacing it. A heat press and a supply of transfers takes up far less floor space than a screen printing setup, and it lets a shop say yes to jobs it would otherwise turn down.
Pricing Realities
Cost per transfer depends on size, quantity, and supplier. Small prints in bulk can land in the range of a dollar or two per sheet, while large full-back designs cost considerably more. The math that matters is cost per finished garment, not cost per sheet. Factor in the garment, your labor time, and your failure rate. A slightly pricier transfer that presses reliably every time often beats a cheap one that wastes shirts.
Frequently Asked Questions
Can DTF transfers go on 100% cotton?
Yes, and this is one of the main reasons people choose the method. Unlike sublimation, DTF does not require a polyester surface, so it works well on cotton, cotton blends, and most other common fabrics.
How long do DTF prints last after washing?
With correct pressing and normal care, most quality prints last through many wash cycles without noticeable fading. Washing inside out in cold water and avoiding high dryer heat will noticeably extend the life of the print.
Do I need a special heat press for DTF?
A standard heat press with adjustable temperature and pressure works fine. What matters is accurate temperature control and even pressure across the platen. Clamshell and swing-away presses both work, though swing-away models are easier to load accurately.
Can I layer DTF transfers on top of each other?
You can, but it takes care. Press the first transfer, let it cool, then apply the second with slightly reduced pressure and a protective sheet so the first print is not flattened or scorched.
What file format should I send to a transfer supplier?
PNG with a transparent background at 300 DPI is the safest choice for most suppliers. Vector files work too, but raster artwork needs to be at final print size so nothing gets upscaled and blurred.